Perspective Examples
[21]:
from easycv import Image, Pipeline
from easycv.transforms import Perspective, Select
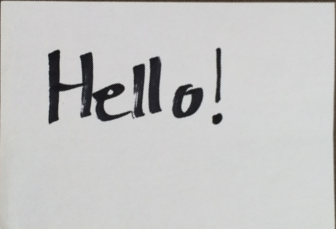
For this example we will load an example image from the images folder.
[15]:
img = Image('images/hello.png')
img
[15]:

Perspective
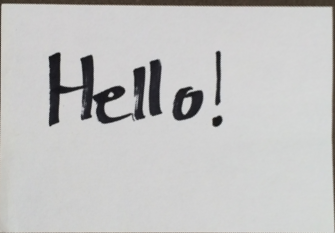
To execute a perspective transform we just apply the Prespective Transform with the desired points to the image, for more information check the reference.
[17]:
points = [(71, 238), (354, 114), (470, 257), (186, 437)] # corners of the paper

img.apply(Perspective(points=points))
[17]:

We could also select the points with the Select Transform, for more information check the reference.
[19]:
points = img.apply(Select.point(n=4))["points"]
points
[19]:
[(71, 238), (352, 114), (470, 258), (187, 437)]
And then call as we did in the last example.
[20]:
img.apply(Perspective(points=points))
[20]:

We can also create a pipeline that selects and applies the perspective transform.
[23]:
pipe = Pipeline([Select.point(n=4), Perspective()])
pipe
[23]:
Pipeline (pipeline) with 2 transforms
    1: Select (method=point, n=4)
    2: Perspective (method=(...), points=(...))
This will open a window asking to select the points and then execute a perspective transform on the selected points.
[24]:
img.apply(pipe)
[24]:
